Improving the Rider’s Hands
There are lots of novice riders who struggle to keep their hands in a good position and who struggle to maintain an even, elastic contact with the horse’s mouth. The good news is there are lots of ways to improve your hand position and how use your hands as a rider and we’re going to talk about those today.
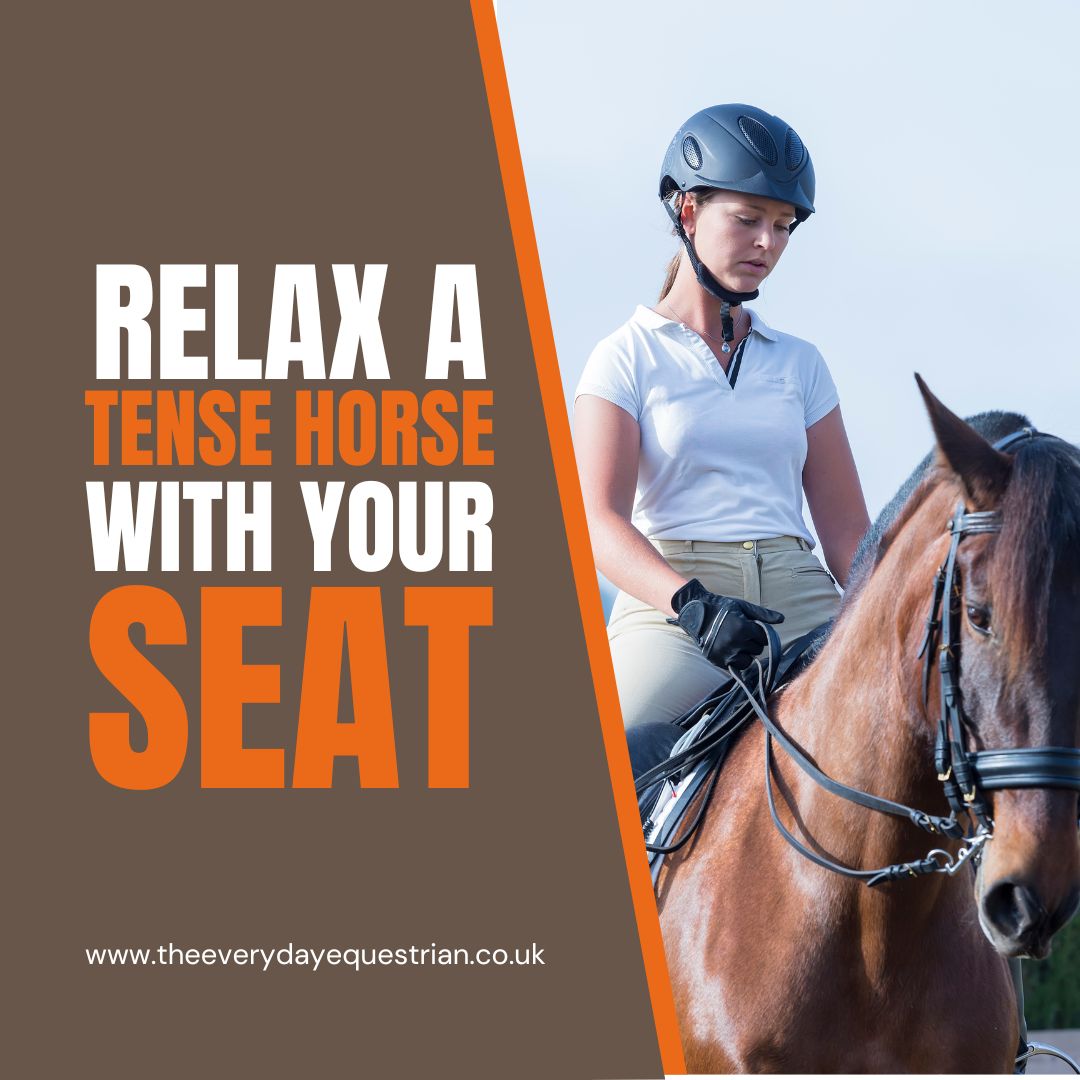
The key thing to think about is that the rider’s hands are not actually the source of the problem, they are the symptom. The better your seat is as a rider, the more you are able to improve your hand position and your contact down the rein. The issues with a bad hand position or an inconsistent or inappropriate contact with the horse’s mouth is that you’re encouraging the horse to move forwards unevenly, or to be unresponsive and not to respect your aids. Some horses will get to a point where they’re protecting themselves by raising their head, blocking and becoming stiff in the neck and back, lack of bend, or lack of responsiveness to the aids and it can cause all sorts of issues – so, it’s quite an important thing to try and work on and improve. I do work with lots of different riders who have all sorts of hand issues, so I wanted to talk today about some of the ideas and the techniques that we use to improve the rider’s hands.
Riding Without Stirrups
Let’s go back to where we started, which was the hands are a symptoms of the rider not feeling secure in the seat and well balanced. So, one of my first tips to improve the rider’s hand position is actually to work on the rider’s seat. One of my favourite ways to develop a rider’s balance and confidence and use of their core muscles is to ride without stirrups. Lots of people will veer away from this, but actually it’s one of the easiest and most effective ways to improve hand position and confidence as well. Lots of people don’t feel confident riding without stirrups on their own but it doesn’t have to be scary and it doesn’t have to be dramatic.
So, if you’re going to ride without stirrups and you’re less then confident, start off in walk. Ten minutes in walk on both reins in a controlled environment, in the arena perhaps – with a friend standing by and helping you is even better! Just 5 minutes can make huge developments and progress in how you sit and in your confidence levels as well. Take your feet out of your stirrups, and cross them over so they lay on the horse’s shoulder in front of the saddle. Traditionally, the right stirrups should go over the horse’s neck first and then left stirrup over the top. The theory being that if you need to get off the horse for any reason, or (in a whispered voice) if you fall off, you need your left stirrup first so that should be on top for easier access. Once you’ve crossed your stirrups in front of your saddle and before you move off into walk, just see if you can identify where your seat bones are. They should be in the middle of the saddle; you should have even pressure on both seat bones and you should be sitting nice and tall, growing up through the top of your hat. A good bit of imagery to use is to imagine a piece of string attached to the top of your riding hat and that this bit of string is pulling you tall and you’re growing through your neck and that your shoulders are dropping back and down at the same time. Think about dropping your leg before you move off, think about your knee lowering down the saddle away from the knee rolls. It’s a good reminder not to grip with your knees as that in itself can make you unbalanced. Your legs should be nice and long, lightly hugging the horse’s side and your weight dropping down into the heel a little bit. Try not to force your heel down though because again this can destabilise your position.
So, once you’ve organised yourself in halt, I’d like you think about walking in an even, consistent walk, a medium walk (an ordinary walk if you like). It should be purposeful and there should be a clear four-beat rhythm. As you walk, I want you to focus on your hips moving with the horse’s back – try not to think of a forwards and back motion of the pelvis but think of trying to feel the horse’s back lifting each of your seat bones in turn. Your left seat bone will be pushed up by the action of the walk and then your right seat bone will be pushed up. I want you to concentrate on that feeling while you’re walking. If you’re a little bit nervous, it’s absolutely find to have somebody walk with you, if that gives you confidence then do it – don’t be afraid to ask for help!
Next, if you’re happy to, I want you to have a go a sitting trot. A really useful place to start with sitting trot to improve your seat, is to think about riding a ‘jog trot’. As you get more confident you can ride the trot with more power but to start with don’t feel like you’ve got to ride an extended trot or something grand and bouncy and super powerful. You’ll just be making life harder for yourself! Keep the trot flow steady, it doesn’t even really matter particularly if your horse is in an outlineor working in a certain way. It’s far more important that you are confident and safe and secure in the trot. So just do a little jog trot to start with, set yourself up and say “I’m going to trot on this 20 metre circle” and to start with my aim is to trot a quarter of the circle. I always tell my riders that I would far prefer them to trot a quarter of the circle and do it really well than feel like they’ve got to do 10 circles all disorganised with bad posture and poor balance as that’s just not productive. Think quality over quantity! If you can hold your position well in a sitting trot for a quarter of the circle, that’s great. Remember though that one session of sitting trop without stirrups is not going to fix your hands. If you work up over time to develop your balance and your core strength and your confidence too, you can then extend the amount of sitting trot that you are doing gradually. It also means that your horse is comfortable with the exercise as well. There’s nothing worse than seeing people banging up and down on horses backs trying to improve their sitting trot. It’s not kind to the horse and all they do is hollow & brace against the rider, then it becomes a detrimental exercise to the horse as well as the rider. Do it slowly, do it steadily and build your confidence and your balance gradually.
The other thing you could do here, is to practise riding without stirrups with somebody lunging you. Make sure you have a conversation with the friend who’s lunging you so that they are clear what the aim is – you are starting to develop confidence and balance in sitting trot, even canter, without stirrups. I know canter sounds scary to some people but it is still possible. Actually, it’s a really good thing to do! Get somebody to lunge you because then you don’t have worry quite so much about what the horse is doing and it gives you a chance to really focus on your position and your balance.
So, my biggest tip to improve the rider’s hands is to actually improve confidence, core strength and balance in the seat. Using work without stirrups is massively important in achieving this.
What is a Good Hand Position?
Right, now let’s think about how we can improve the hands when we’re riding in general – when we have our stirrups and we’re riding on the flat normally. What is a good hand position? Hands are obviously linked directly to our arms, our elbows, our shoulders and our back, so it has a cascade effective if you’re sitting badly. Again, think about sitting tall in the saddle, even weight on both seat bones. In a classically correct way, your arm and your upper arm should hang vertically from your shoulder, your shoulders should be back and your shoulder blades reasonable flat against your upper back. From a vertical upper arm, your elbow should be soft and bent which means that you can react and manage the contact down the rein. Lots of riders have very straight, rigid arms and it often comes from nerves or feeling like they’re riding a horse which is strong. By having straight locked arm, you cannot develop an elastic, soft, consistent contact, it’s just not possible. So, if you take nothing else form this blog, have a go at checking your elbows – are your elbows soft, are they comfortably rubbing the outside of your waist (that’s where they should live, next to your belt on your jods or your breaches)? If I was looking at a rider on a horse, while coaching in the middle of the circle for example, I would want to see a straight line that runs from the elbow down the rider’s forearm, through the hands, down the reins to the horse’s mouth. This indicates that your hand and your arm can respond to movements of the horse’s head easily and also helps maintain that consistent contact.
Next, let’s talk about the rider’s hands. Hands should be held with the thumbs uppermost and vertical, as if you’re holding a cup of tea in each hand for example. The pads of your fingers should lightly touch the pad of your thumb. Some people grip onto the rein like their life depends on them, however, the more common issue that I see is people allowing their fingers to become open and then they struggle to maintain the correct length of rein. Now the thumb should beuppermost as that should be the thing that secures the length of rein. You should secure your length of rein by pressing your thumb to the side of the knuckle of your index finger. If you allow your thumb and fingers to become too relaxed the reins will slip through and you’ll struggle to maintain contact through different paces and movements. So, try and keep the pads of your fingers against the pad of your thumb and base of your hand, lightly touching but not gripping, your thumb on top of the rein with the rein coming out over the knuckle of the index finger and so keeping your rein secure.
One of the worst things you can see is riders winching the bit and the rein so that the horses head tips side to side as they’re being ridden. If you’re asking your horse for a nice elastic contact I want you to imagine it’s like holding the hand of a small child to ensure they stay with you & listen to what you’re saying & where you want to go. What you see with people when they’re winching the horse’s head from side to side is that they’re using that really strong dominant hand and that’s not very nice for the horse. It’s not encouraging the horse to offer you the correct way of going. If you are winching, please stop it’s not at all correct!
When you’re asking a horse for a contact or to give aids down the rein, the first place you need to start is to apply your leg and engage the horse’s back end. Whatever level you’re riding at, put your leg on before you do anything! Then, when you’ve created a little bit of impulsion, you can use your fingers to give the horse an aid down the rein. I liken it to a very soft massage of the rein, it’s never just a big pull if you’re trying to school your horse. It should be a soft and an asking rein rather than a telling rein. If a horse is being really naughty and you’re out of control, by all means, be a little bit more forceful in your contact. However, when we’re schooling our horse to go nicely, I want you to think of asking the horse to do something, or suggesting the horse look a certain way, or flex a certain way or lower its head by just massaging with your fingers. Now, if we think about the hands themselves, think about a massage down the rein as being very gently squeezing of a sponge or squeezing the pad of your thumb. You can also use individual fingers to give a ripple effect down the rein. You’ve got to find out what works for your and what works for the horse that you’re riding.
How High Should the Riders Hands Be?
Something we haven’t mentioned yet is actually how high the rider’s hands should be. To a certain extent this depends on how your horse is schooled and where his head is so I’m not going to go into this in massive detail here. If we look at this classically, the riders hands should be just 3 or 4 inches above the horse’s withers and they should stay on each side of the withers. So, if you’re somebody who tries to turn by crossing your inside hand over the wither, I want you to really focus on pointing the thumb of that hand in the direction you want to go and perhaps moving the rein a little wider away from the neck. If you bring the rein across the neck to try and turn, all you’re doing is blocking the bend. The horse cannot bend evenly from poll to tail if your hand moves across the neck. Do try and indicate, suggest that the horse offer flection to the left or right by moving your left or right hand away from the neck a little. This can become less and less obvious as the horse becomes better educated.
Improving Your Hands and How They Work
Right, let’s move onto some ways of improving your hands and how they work. An old school idea for people that ride with their hands at different heights, a technique I use quite often, is to use a short whip and place it under the thumbs of both hands at the same time so it acts like a bridge between the two hands when the rider has the reins. It feels ever so strange but it really does highlight whether your hands drop on one side or the other. It’s a great technique to identify and rectify this problem, because you can see and feel when your hands are dropping more clearly.
If you struggle to keep you reins the same length, there are a couple of things you can do. You could buy what’s known as continental reins. You don’t see these quite so much now but they’re really useful if you struggle with maintaining a constant length of rein. They are webbing reins and they have leather strips at intervals along the rein, acting as grips. So, they’re really good for cross country but everybody rides in rubber reins these days. These leather strips can help guide you to place your hands on the rein at a certain notch so that they should both be equal – it just gives you something to judge against to see whether your reins are the same length or not. You can also get coloured reins for training in. You can’t wear them in competitions but you can certainly use them at home to help you identify whether your reins are the same length. The other thing, if you don’t want to invest money in buying various different sets of reins, is to buy a pack of plaiting bands and when you clean your tack and take the reins off the bridle you can wrap the bands around the reins at different intervals to use as guides. So effectively, you could use the plaiting bands to do the same job as the leather strips on the continental reins. Make sure you check they’re equal on both sides otherwise you’re in a whole world of confusion!
A lot of the riders I see are dominant in the left rein so that side tends to work really firmly and they almost overuse it, which is fine when you’re riding on the right rein and the left rein is the established contact and steady, but when riders who are dominant on the left hand try to flex their horse to the left, they struggle to let go of it and that can be a real issue. There are two really clever exercises to help with this – I pre-warn you that both will feel very strange! The first is to try changing the way you hold the reins. Instead of holding your reins normally (with your reins coming into your hands between your little finger and your ring finger and exiting your hand between your thumb and your index finger) you could swap it around so that you put the rein through your thumb and index finger first and then out between your ring finger and your little finger. Just changing the rein round for a short period of time actually gives you a very different feel down the contact, so this is really worth doing if you are struggling with one hand that’s more dominant than the other.
Another similar exercise you can do (which really hurts my brain and I have done this regularly in the past!) is to actually cross the reins over your horse’s neck and again have the rein through your thumb and index finger first and then out through your ring finger and little finger. So, not only is the way you’re holding the reins upside down, you’re also working with opposite sides of the horse. For example, in that scenario, I’ve crossed the reins over and I’m holding my reins upside down. When I squeeze gently with my right hand it actually gives a left aid to the horse’s mouth and when I gently squeeze my left hand I’m giving a right rein feel to my horse. If you are using both of these techniques, please make sure you practise in a controlled environment, such as an arena, and if your horse is upset by it, please swap back and start slowly. Start manoeuvring the horse round in these two hand positions in walk first, don’t progress to trot until you’re happy. Test your brakes, test your steering gently. It really can teach riders to have a better contact and more awareness of what their hands and arms are doing.
Another useful tip to improve your hand is to think about how still they are. Lots of riders try to keep their hands still, however, they try to keep their hands still in relation to themselves, which is actually counterproductive. What we mean by keep your hands still is keep them still in relation to the horse’s mouth.This is a very subtle yet important difference. For instance, if you keep your hands still in relation to your body, your arms go stiff and you cannot allow flexibility in the contact because your arms don’t move and you tend to grip and get tense in your upper body. However, if you think about having your arms still in relation to the horse’s mouth you have to keep your arms flexible and soft so that you can keep your hands consistently in place. It’s worth having a bit of a change of mindset – when somebody says to you keep your hands still, what they’re actually saying is to keep your hands still in relation to the horse’s mouth.
Now, another really useful bit of kit to improve your hands, or at least raise your awareness of where your hands should be when you’re riding, is the Visualise Training Gloves by a company called Centaur Biomechanics. These are a pair of black gloves which have really clear marking on them. The thumb section has a really brightly coloured fluorescent section so it keep reminding you to glance at your hands and check where they’re at. They’re a really clever aid to help you become more aware of where your hands are. Just as a side note, I have no connection to the company whatsoever, I’m not being paid to promote them or anything grand like that! However, I am aware of these products and they actually are quite useful if you are struggling with your hands. The gloves can be used to help prompt you to check what you’re doing with your hands and where they’re at, so do go and investigate those.
There are a couple of other things you could do to help improve your hands and your contact. The first is, to actually concentrate less on where the horse’s head is. What I mean by that is don’t worry if your horse is not “on the bit”. I want you to focus more on maintaining an elastic conversation down the rein with the horse and try to focus less on establishing the horse’s nose on the vertical. This comes from the rest of his body working correctly, it shouldn’t come from your hands. Instead, work harder on maintaining good hand and arm position that’s relaxed, elastic, reactive and builds that conversation with the horse down the rein.
Finally, and most importantly in my opinion, is to constantly evaluate what you’re doing. Spend a bit less time getting drawn into whether your horse’s head is in the correct position and rather keep asking yourself the following:
- Where are my hands?
- What are my hands doing?
- How can I improve them right now?
If you look at any of the very best riders in the world, what they’re actually doing is focusing on the job and the task in hand and they’re constantly looking for feedback on how the horse is going where their balance is, are they bending correctly, are they listening, are they reactive to their aids. The rider is constantly questioning different aspects of what they’re doing, they’re riding every single stride and looking for feedback on every single stride and making minute adjustments as they go. What this does, is it makes their riding look absolutely effortless and anything that’s done that well means that an awful lot of hard work has gone into it and continues to go into it.
So, what I want riders to take from that, certainly if you’re competing at anything less than the Grand Prix dressage (let’s face it, that’s the majority of us!) is to, in a non-judgemental way, ask yourself when you’re schooling and when you’re riding:
- Where are my hands?
- Are they in the correct position?
- What can I do to improve their position?
- What can i do to improve the contact with the horse’s mouth?
- How can I make my elbows more relaxed?
- How can I make my upper arms more vertical?
- How can I ride differently to improve and develop this horse?
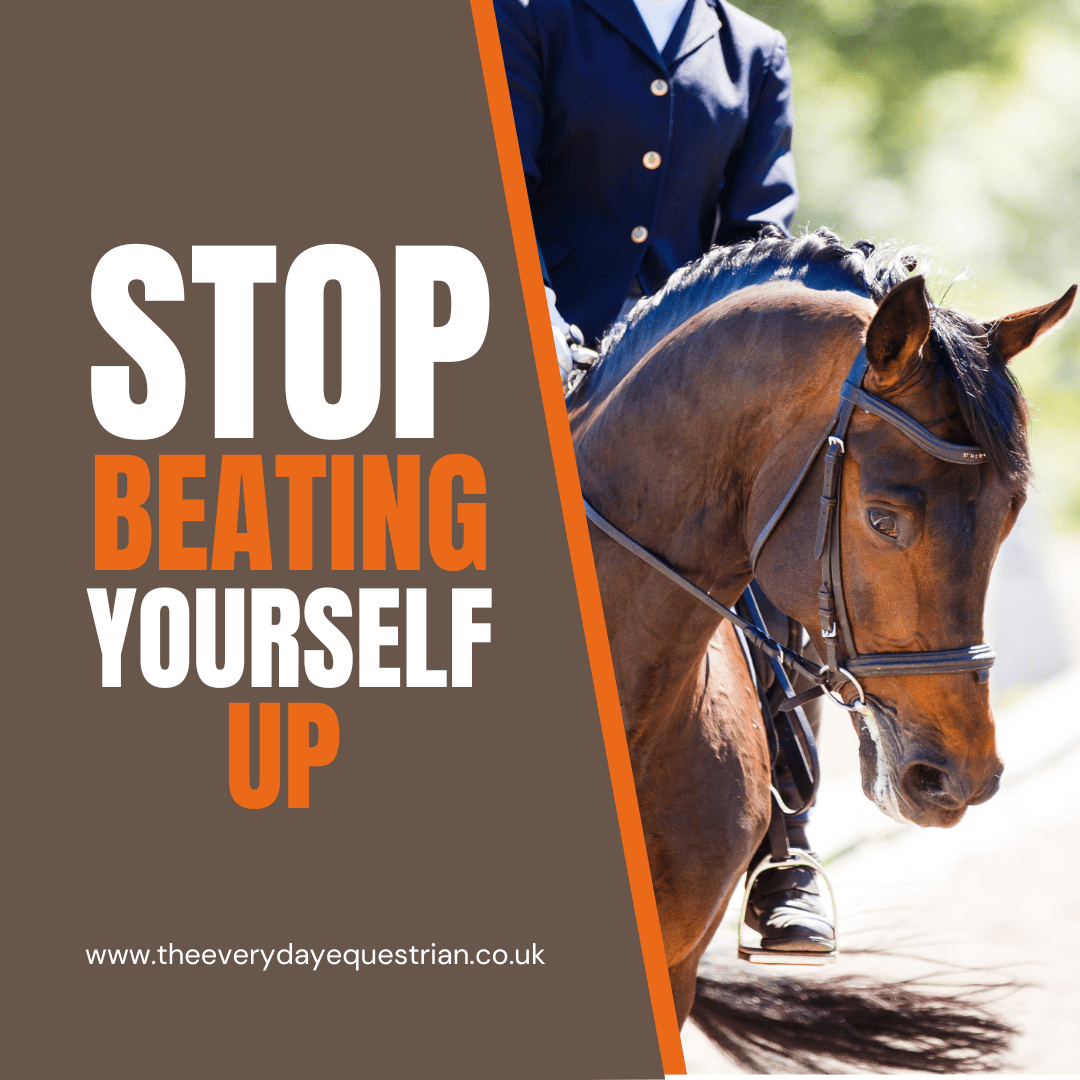
By doing that and doing it in a non-judgemental way it means that you are going to make progress. It might take time, it might be a slow process, it can be useful to ask a friend to take a video of you riding each month and then you will hopefully see the progress you’re making in your position. The key thing is to ask yourself questions, but don’t ask yourself questions to beat yourself up! If you have an internal dialogue in your head which is saying: “my hands are rubbish”, “oh this is dreadful”, “this horse isn’t listening”, “this is not so good”, “I can’t ride”, “I’m rubbish”, “I’m useless” etc. etc., that’s not helpful to making positive progress in your riding. So, rather than beating yourself up as you ride ask yourself questions and rate your progress on a scale of 1-10. Use this scale to say out loud how correctly you are carrying your hands, and the quality of the contact. Don’t over-think it! Just say the first number that comes into your head; it’s usually the right!
Try some of the exercises I’ve suggested here. I would love to hear your feedback, please do let me know how you get on. Equally, if you know of any other exercise that might be useful, I’d love to hear them! I would love for you to come and join the conversation on my Facebook and Instagram accounts, or please feel free to drop me an email. You can find out more about the booking a coaching session with me here: Coaching with Alison